Creating a glass material
.png)
In this small article we try to create a glass material. This material is a bit simplistic, but in my humble opinion, looks quite realistic.
Creating the environment
Material Glass has three basic properties. This transparency, reflection and refraction of light. All these properties are difficult to prove without creating at least some environments. Therefore, we start with what does not make a great environment.
If you have had previous lessons, you should have some appropriate objects. This table, fork, plate, glass and bottle. If for some reason you do not have these facilities, you can download them at the end of the lesson or make other similar.
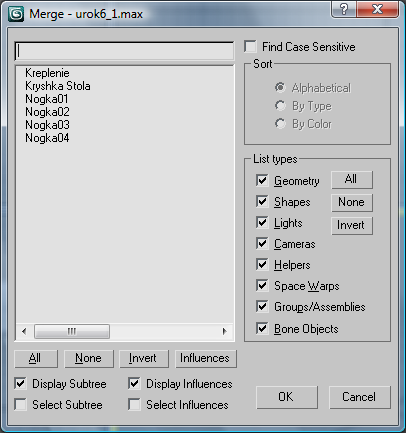
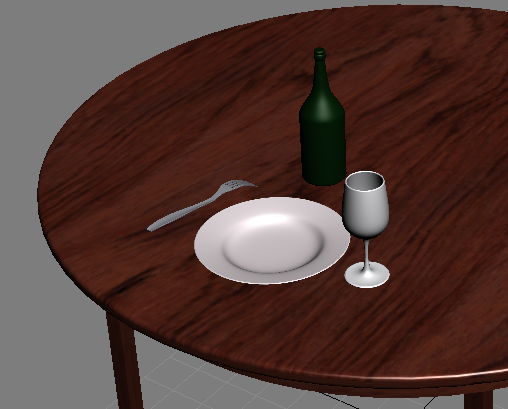
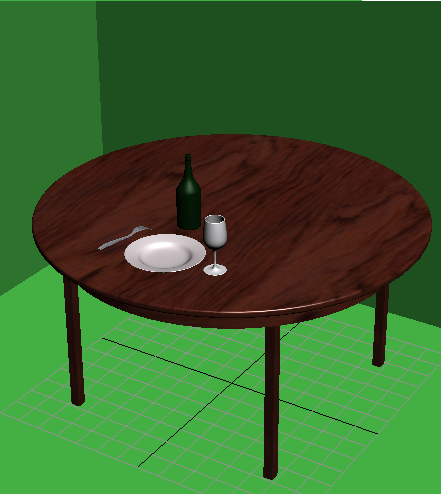
Click the All button at the bottom, and then click OK. As a result, our stage is to insert a blank table. Do the same with all other objects. Place them on the table, if necessary, increase or decrease them. The result should look something like this:
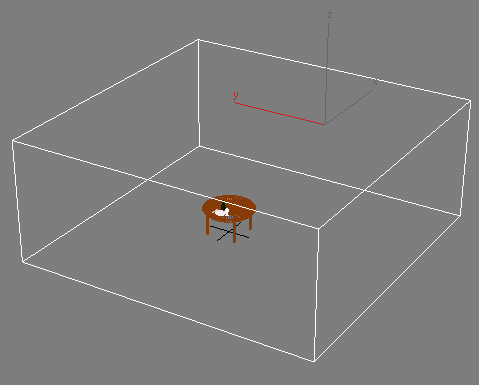
We have created a small scene, but that's not enough, since around the table is empty, and the glass will reflect our emptiness. Therefore, you should make a simple imitation of the room. To do this, create a cube around the table.
Apply a modifier to Normal and set the checkbox in front Flip Normal
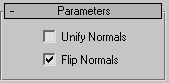
This would reflect the normal inside the cube. Zoom the camera closer.
Give it a simple cube of any texture
We can assume that the creation of the environment is completed.
Setting up the glass material
We proceed directly to the creation of the material. Press the M key on your keyboard to open the Material Editor and select one of the empty cells.
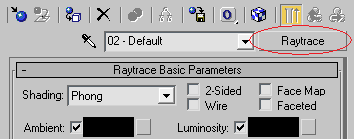
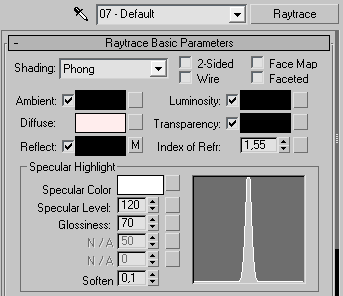
Glass has the properties of reflection and refraction of light. Therefore, when rendering a scene to calculate the passage of light rays through an object. It turns out, the glass is most suitable type of material Raytrace.
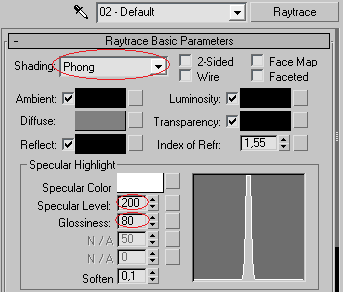
For a start, mood glare glass. They have quite sharp glass and small, so choose the type of shading Phong, Specular Level value of 200, Glossiness 80.
Now for clarity. Click the Background on the right, when you set the transparency to see how it would look like.
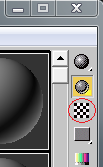
Press the square button next to the row of Transparency (opacity) to specify the map of the distribution transparency. In the resulting window choose Falloff.
If you look to any glass beaker, then we can see that the maximum transparency of the glass in the center of the glass and falls closer to the edges. And about themselves edges, depending on the thickness of the glass, the glass can be quite dramatically transparent.
Falloff map will help to achieve just this effect. All settings are kept by default:

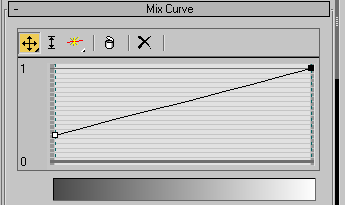
But in the Mix Curve rollout, set the curve like this:

In this graph, the higher the point, the more transparent the object is at this point. And what is right, the closer it will be the edge of the object. Thus, we can see that this graph is fully consistent with the above observation.
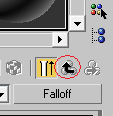
Go up a level by clicking the Go to Parent
Now the mood of reflection. Click the button next to Reflect (flip). In the window that appears, select all of the same Falloff.
C reflections in the glass all the other way around. They are maximal and minimal at the edges of the center.Although there is no such spike. Therefore, all set Falloff map, leave the default, only slightly modifying the curve in the Mix Curve
Again, go up a level by clicking the Go to Parent.
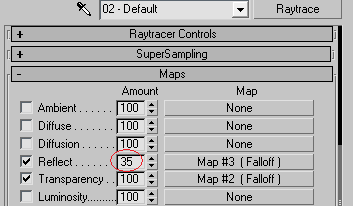
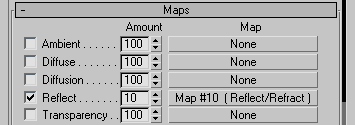
Since our glass is not a mirror and do not reflect 100% of the rays, it is necessary to reduce the reflection to 35 in the Maps rollout
Next, go to the scroll and adjust SuperSampling here so its contents:
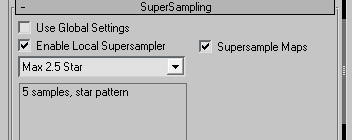
It's not a lot of help smooth out some of the artifacts when rendering the scene.
At the glass material can be considered complete. Assign the resulting material to a glass window by clicking Assign Material to Selection.
Setting up the secondary materials.
In principle, this you can stop and not read what is written on, since the aim of the paper is reached. But I still decided to spend a little time to complete the scene.
The fact that the material is made for a table in the sixth lesson has one drawback - it does not reflect its standing in the objects, so the effect is lost polished, lacquered wood.
To fix this, select the cell with a blank material and assign the type of material Raytrace. Assign the settings as a picture:
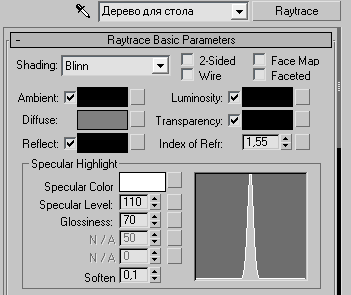
Click the button next to Diffuse, in the dialog box, click Bitmap and choose the appropriate texture. Click the button next to Reflect and choose Reflect / Refract, reflect the intensity of the set 25
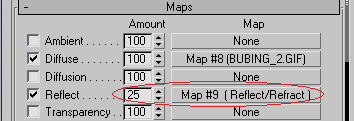
Now the table should reflect poorly on him all the standing facilities.
It should say a few words on the plate. Clean plate and enough shiny object reflects very little standing next to objects. Therefore, its configuration will look like this:
The material of colored glass
The scene is a green glass bottle. Its material is almost the same as created above, but with minor changes.Drag the glass material, in an empty cell, creating a copy of it. Name the new material "glass bottles" and put in the Diffuse dark green color.

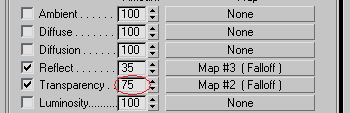
The green bottle is much less transparent object than glass, so turn down the intensity in the Maps rollout, at least up to 75:
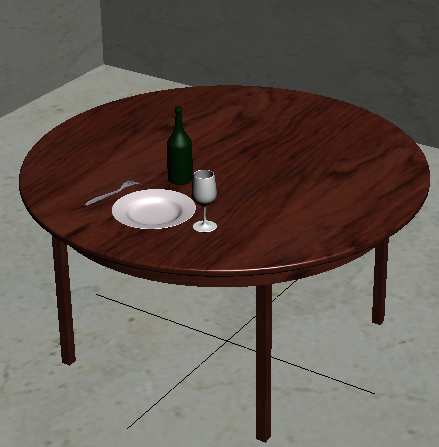
After rendering the scene (the button F9) is what should have some
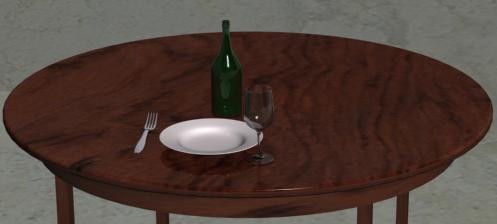
At this stage there is one drawback, it lacks shadows, but it's a topic for separate consideration.
No comments:
Post a Comment