Lesson # 2 - How to modeling the table in 3d max:
So when we are not much acquainted with 3ds Max will try to do something simple in this environment, such as a small table. At the same time learn the basics of handling objects after their creation. That is, learn how to change them to move, copy, and do other useful things.
Let us turn to the lesson. Run 3d Max, if it is already running, create a new scene by clicking the menu item File-> New or by pressing Ctrl + N.
Go to the window with a view and then click Maximize Viewport Toggle
to expand this view on the screen.
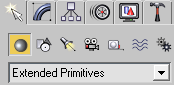
In the Create tab
Select the point Geometry
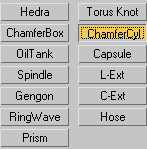
In the drop-down list, select Extended Primitives. As a result, it should look like this:
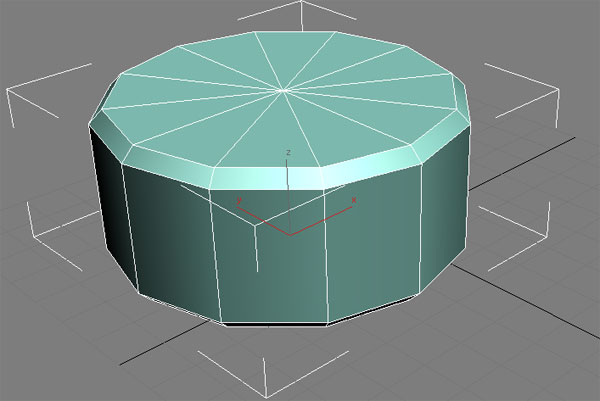
Here appeared the names of objects that we can create, select one ChamferCyl. This is a cylinder with rounded edges.
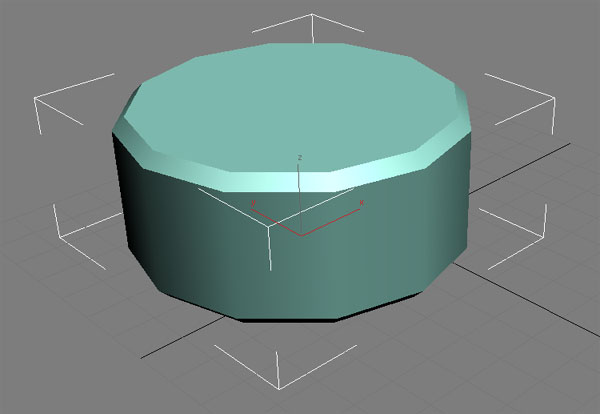
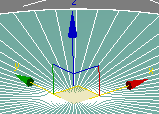
Drag the mouse pointer on the workspace and create this cylinder. Do not worry yet about its size, location and color, you just need to make an object, this will be logging the table top.
Some of you may wonder: we have created a cylinder, and got what we cornered polygon. The fact that all objects in three-dimensional simulations are composed of triangles, including our cylinder. If you press F4 on the keyboard, 3d Max to show:
There may be another question why some faces are represented as rectangles? Some neighboring triangles (they are called polygons) 3d Max combines the quads, and just does not show obscheyu side of the two triangles.
Way to remove those white strips (hereafter we call them ribs) can be repeated by pressing F4. And if you press the F3 button it is possible to leave only the edges:

Return the "fill" color of an object can be repeated by pressing F3.
So continue to build our table top. First let's define the size. If the selection has been reset, then select the cylinder with the Select Object tool
Go to Modify tab
Let's start with the name change the default name «ChamferCyl01» to say «Kryshka Stola»:
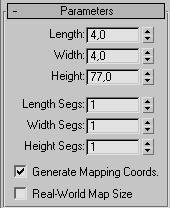
Below find a roll of Parameters:
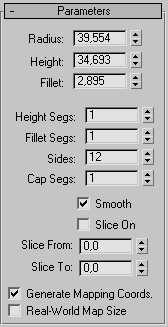
Here u can edit the various parameters of the object. By changing how the field can be seen as changing our object and intuitively understand is responsible for what this field. Before editing advice click F4, so that the edges of the object were visible. Now enter the values of the fields as shown below:
At the same time to examine what happens, use the tools of this panel:
discussed in the previous lesson.
So after you've fought all the parameters should get something like this:
Now let's move this cover to the right place, there is a tool for the Select and Move:
Now note that our cover has changed three sticks coming from the center:
They turned into the three arrows with the letters XY Z. This three-axis, respectively, along which you can move the object. If you hover your say on the X axis then it is highlighted in yellow, it means that at the moment, this axis is activated and the object's motion will be possible only along this axis. If you move the cursor on the square between the two axes (eg, between X and Y), then yellow to stand out and the two axes of motion of an object may already be along these axes (ie already in the plane XY). Once you have decided along which axis you move an object hold the left mouse button and drag the object to the right place. Drag the object is not the easiest in the long term and in the kinds of top / left / front.
But since you can move an object only about, but we need absolute accuracy for the bottom there are three input fields of displacements along the axes X, Y, Z. Enter there the following values:
So we put the center cap in the center of the coordinate plane XY and lifted it over her for 80 units.
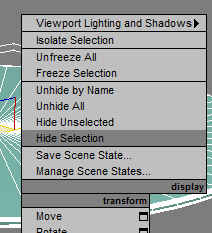
To cover the table we do not yet mingled conceal it. To do this, right click on it and select the menu item Hide Selection
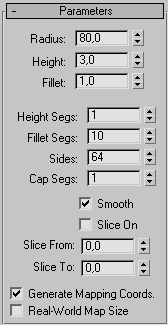
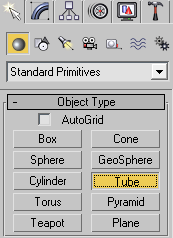
Click on the Create drop-down list, select the Standard Primitives and create an object Tube.
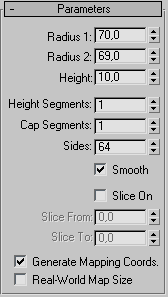
We call this object is valid «Kreplenie» and put it the following parameters:
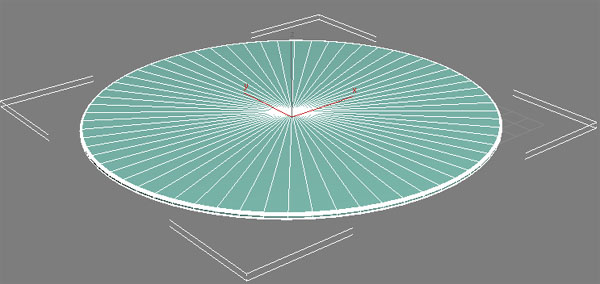
As a result, this happens to such a "donut":
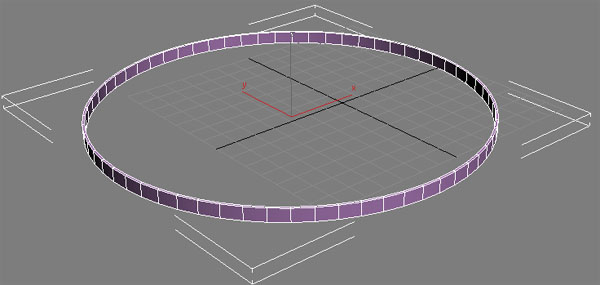
As well as fixing the lid And move to the right place:
Again, while this conceal mounting clicking the right mouse button and selecting Copco Hide Selection.
Now is the time legs. Once again, go to the tab Create and instantiate an object «Box» with the following parameters:
What created the leg «Nogka01»
Now select the «Select and Move», hold down the button on the keyboard «Shift» and move the leg to the side somewhere. Get a copy of the legs and will appear here this box:

In this window, leave the group, importance of Object Copy and name of the new legs «Nogka02», then click OK. Similarly, copying, create two more legs, and name them accordingly «Nogka03» and «Nogka04».
Move the first leg of this:
Second leg:
The third leg:
Fourth leg:
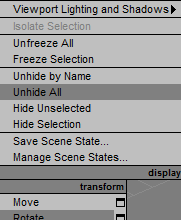
Now return all the objects which were previously hidden, for this, right-click on the workspace and select the menu item Unhide All:
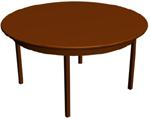
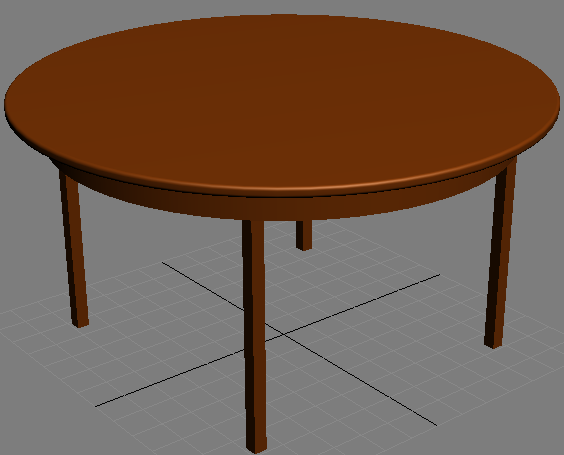
The result was a table here:
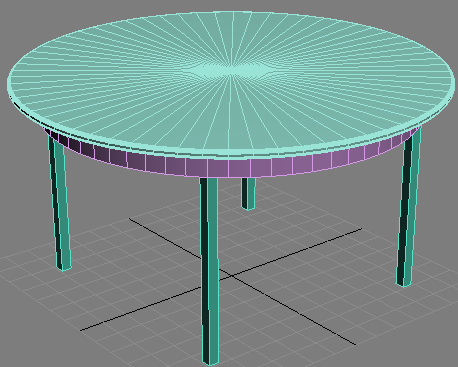
At the stage of creating the object's color does not matter, but to imagine that you should get, you can select a suitable color in the tab Modify, in the square next to the name:
The result will be something like this:
Texture mapping of the tree, and the appropriation of the necessary materials will be discussed in later lessons.
Well, that's probably all waiting for comments.
No comments:
Post a Comment